How to Mount a WebDAV Server as a Network Drive in Windows 10
Introduction
Mapping a WebDAV server to a drive letter in Windows 10 allows for seamless file access, making it feel just like a local drive. This guide will walk you through the steps to connect your WebDAV server at https://example.com/webdev as a network drive in Windows 10, allowing easy drag-and-drop functionality for managing files.
Prerequisites
Before we begin, ensure you have:
- The WebDAV server URL (
https://example.com/webdev). - Credentials (username and password) for accessing the WebDAV server.
Step 1: Open File Explorer
Start by opening File Explorer on your Windows 10 computer. You can do this quickly by pressing Windows + E on your keyboard.
Step 2: Navigate to “This PC”
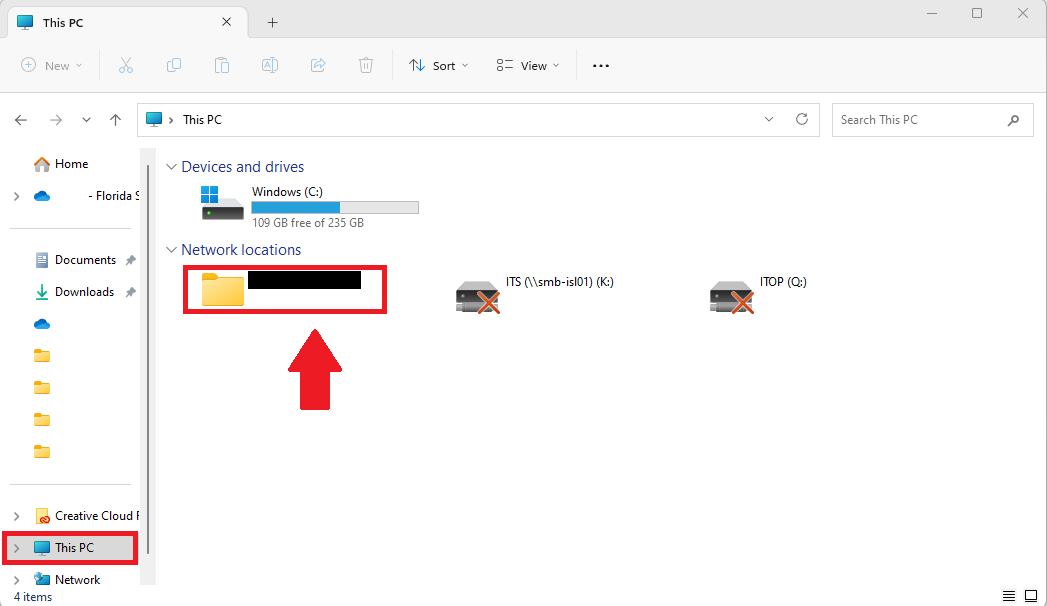
In File Explorer, click on This PC in the left sidebar. This is where we’ll add the WebDAV server as a network drive.
Step 3: Map Network Drive
- In the This PC window, go to the top menu and select Computer.
- Click on Map network drive from the dropdown menu. This will open the Map Network Drive wizard.
Step 4: Choose a Drive Letter
In the Map Network Drive wizard:
- Drive: Choose an available drive letter for the WebDAV server (e.g.,
Z:).
Choosing a memorable drive letter will make it easy to find later.
Step 5: Enter the WebDAV URL
In the Folder field, enter your WebDAV server URL:
https://example.com/webdev
Step 6: Connect Using Different Credentials
Check the box labeled Connect using different credentials. This is important if your WebDAV server requires a username and password for access.
Step 7: Finish and Authenticate
- Click Finish to complete the setup.
- A prompt will appear, asking you to enter your username and password for the WebDAV server. Input your credentials.
- Optionally, check Remember my credentials if you want Windows to save this information for future connections.
Step 8: Verify the Connection
If the connection is successful, the WebDAV folder will be accessible as a network drive in This PC under the drive letter you selected. You can now access the WebDAV server directly from File Explorer, just like any other folder on your computer.

Troubleshooting Common Issues
If you encounter any problems connecting, here are a few solutions to try:
WebDAV Client Compatibility: Windows’ built-in WebDAV client may not work with all servers. If you have connection issues, consider using a third-party client like Cyberduck or WinSCP.
Firewall or Antivirus Interference: Occasionally, firewall or antivirus settings may block WebDAV connections. Temporarily disable them to see if that resolves the issue.
Ensure HTTPS Compatibility: If your WebDAV server only supports HTTP, replace
https://withhttp://in the URL. However, HTTPS is recommended for security.
Conclusion
Mapping a WebDAV server to a network drive in Windows 10 offers the convenience of cloud storage with the familiarity of a local drive. Now, you can manage files on your WebDAV server just as you would on any other drive. Enjoy the streamlined workflow and easy access to your files!
Let us know if you need help troubleshooting any issues or have questions about WebDAV setup on other platforms!
