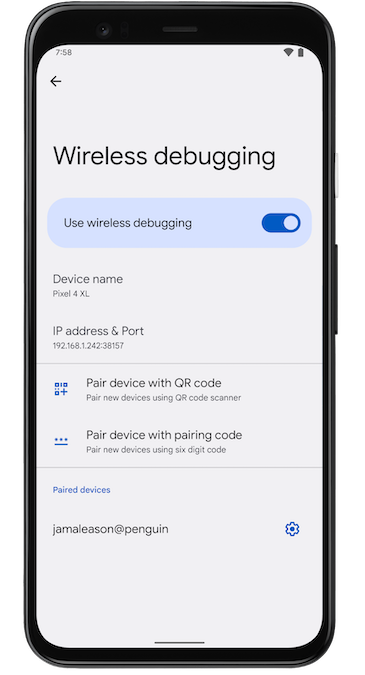
How to Use ADB Wirelessly Over Wi-Fi
To use ADB (Android Debug Bridge) wirelessly, you’ll need to connect your Android device and your computer over the same Wi-Fi network. Here are the steps to do this:
1. Connect your device via USB first
- Start by connecting your Android device to your computer with a USB cable.
- Ensure you have USB debugging enabled on your device. You can enable this by going to:
- Settings > About Phone > Build Number (tap 7 times to enable Developer Options).
- Then go to Developer Options > USB Debugging.

2. Open a terminal or command prompt on your computer
- Open the Command Prompt (Windows) or Terminal (Mac/Linux) where ADB is installed.
- Type the following command to ensure your device is recognized:
Your device should appear in the list.adb devices
3. Enable ADB over TCP/IP
- Run this command to switch ADB to TCP/IP mode:
This sets ADB to listen for connections on port 5555.adb tcpip 5555
4. Find your device’s IP address
- On your Android device, go to Settings > About Phone > Status > IP address (or similar path, depending on the device).
- Note down the IP address (e.g.,
192.168.1.5).
5. Connect to your device wirelessly
- Run the following command using your device’s IP address:
adb connect 192.168.1.5:5555 - Replace
192.168.1.5with the actual IP address of your device.
6. Disconnect the USB cable
- Now you can disconnect the USB cable. Your ADB connection should remain active over Wi-Fi.
- Verify the connection by running:
You should see your device listed with the IP address instead of a USB ID.adb devices
7. Use ADB commands wirelessly
Now you can run any ADB command wirelessly as long as your computer and the Android device remain on the same Wi-Fi network.
